AI for object detection on 50cm imagery

TL;DR Jeff Faudi used Fused for real-time object detection on 50cm satellite imagery, displaying results as an interactive web map.
In this article I show how to create an object detection layer on 50cm imagery in realtime. It explains how to create a Fused User Defined Function (UDF) to load satellite image tiles to call an inference model, then publish it as an interactive map app.
Introduction
In my last article, I demonstrated how to create an API that leverages GPU hardware to perform fast deep learning inference on satellite images. Now, I will show how to go even further and display a live deep learning layer on top of satellite images in a web-mapping application (GoogleMaps style).
If you are impatient, you can jump directly to the demonstration here. But now, let's dive into the behind-the-scenes action.
Project setup
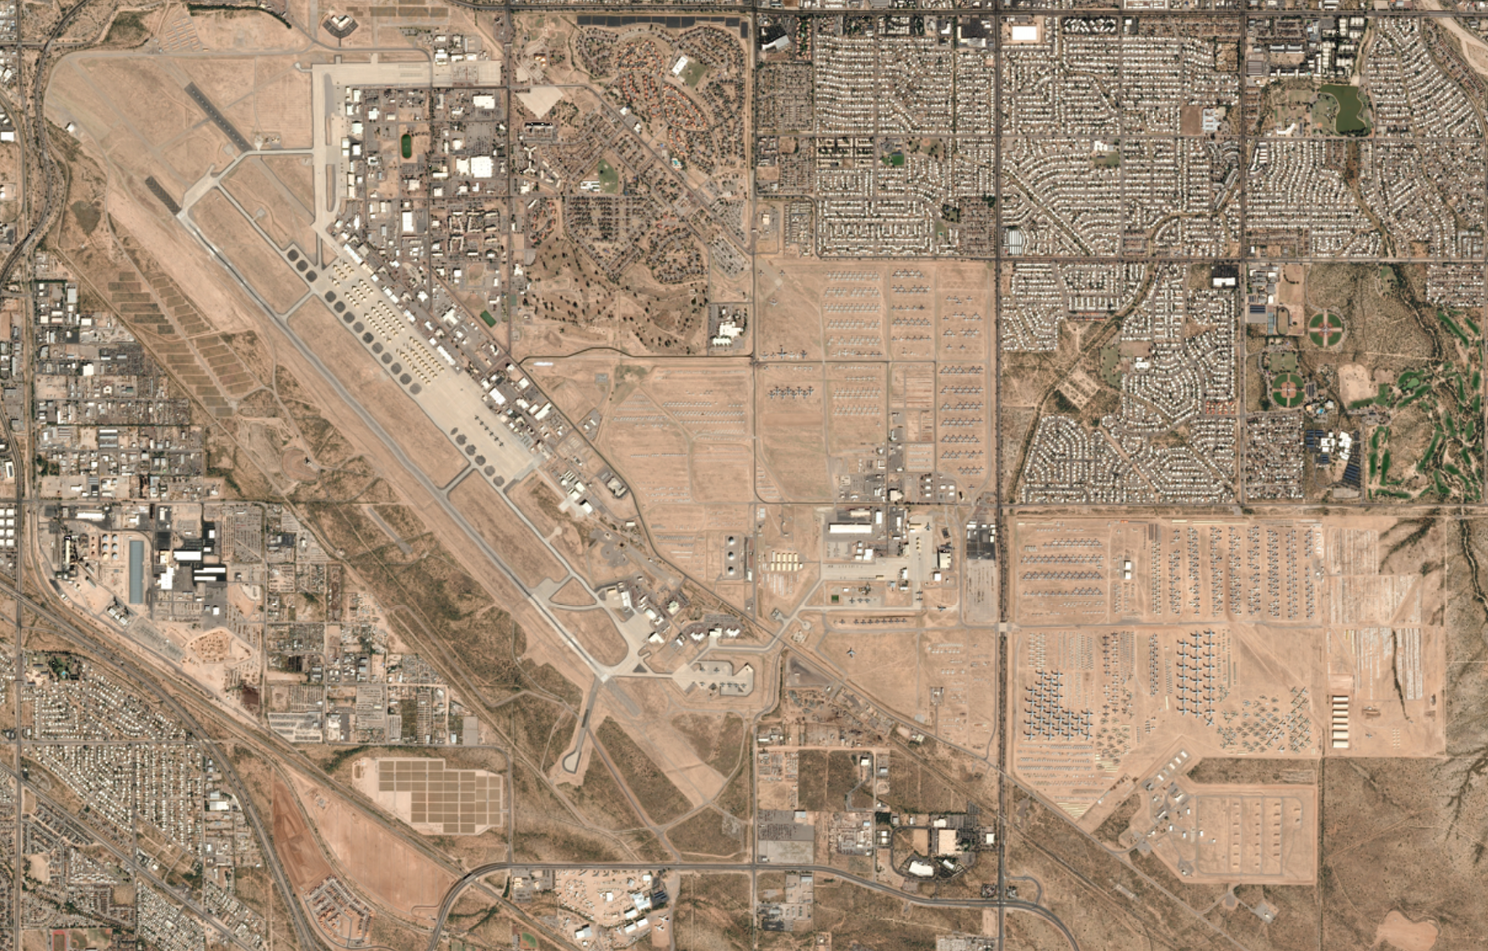
For this demonstration, I will use again my aircraft detection project associated with this article on Medium. This project uses YOLOv8, a straightforward bounding box detection framework. I will apply it to an Airbus Pleiades image at 50 cm over the "The Historic Aviation Bone Yard" in Tucson which displays hundreds and hundreds of aircrafts.
To display this image on the web, you typically need to project it in Web Mercator projection with gdal and cut it into 256x256 pixels tiles that will be displayed nicely by web-mapping applications such as GoogleMaps, OpenLayers, Mapbox, MapLibre, Leaftlet or Deck.gl.
Until recently, I would have done this physically and generated thousands of tiles. Now, we will do this almost magically with Fused.
Creating a UDF
Basically, I just have to write the piece of code that generate the content of a tile and Fused takes care of running the code and providing the urls to share the layer in any application. The Python function that I have to write is called a UDF and it has at least one parameter which contains the bounding box (bounds) on which I need to generate the tile.
@fused.udf
def udf(
    bbox: fused.types.TileGDF = None,
    chip_len: int = 256):

    from utils import read_geotiff_rgb_3857

    geotiff_file = 's3://fused-users/dl4eo/my_image.tif'
    return read_geotiff_rgb_3857(bbox, geotiff_file, output_shape=(chip_len, chip_len))
First, it is worth noting that we extract all content from a GeoTIFF image (ideally a COG i.e. Cloud Optimized GeoTIFF) which contains the bands and geometric information about the satellite image. This GeoTIFF is stored anywhere on the cloud. Here, it is stored in the AWS S3 bucket provided by Fused. Also, note that the function returns an array for raster tiles but could return a GeoJSON for vector tiles.
We use the bounding box of the tile provided as a parameter, convert it from lat/long to Web Mercator (EPSG:3857), get the corresponding bounding box in the original image, and project it in Web Mercator projection in the destination array with the correct desired tile size (typically 256x256 pixels).
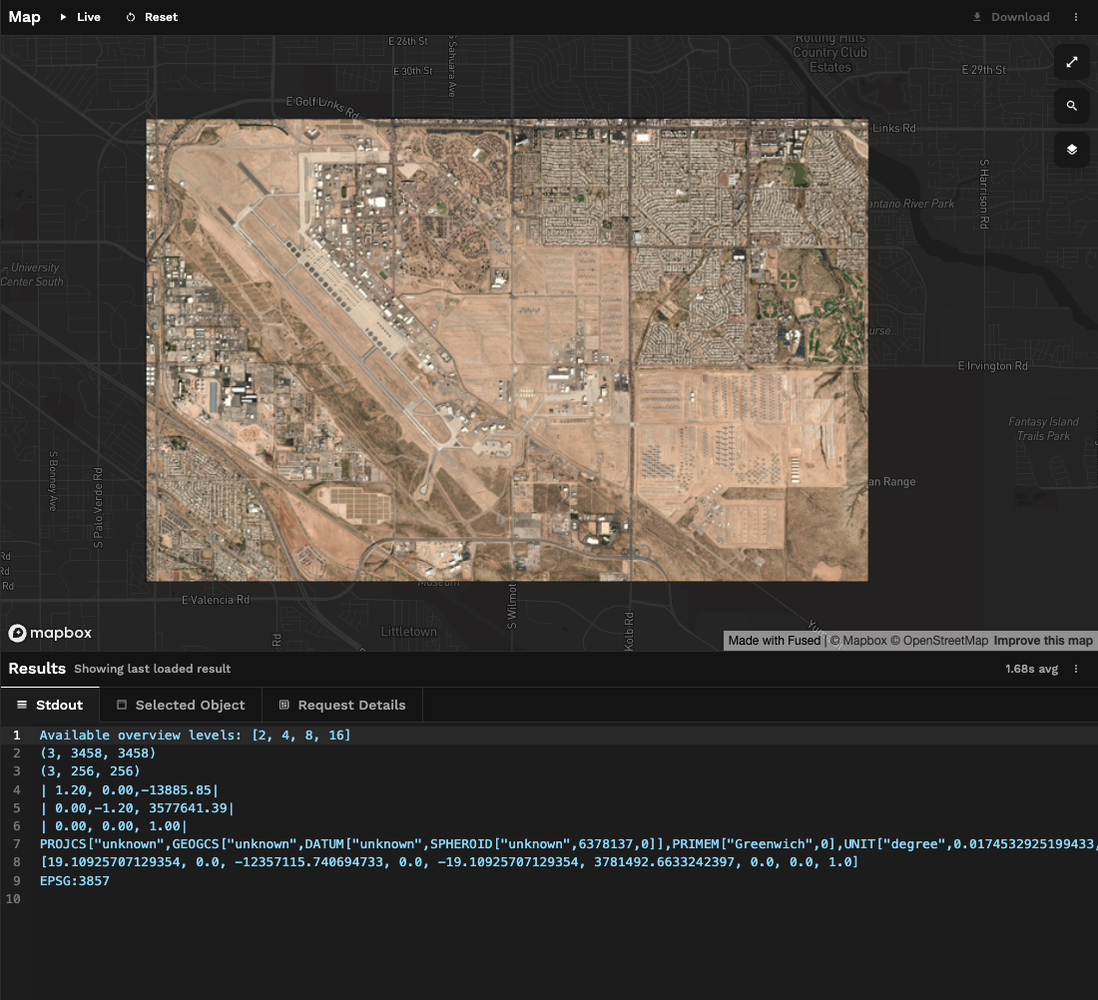
The Fused Map Builder enables one to view the result and logs while coding.
Implementing aircraft detection
Now, if we want to display a real-time aircraft detection layer, we could replicate the previous step: send the resulting image extract to the API and display a vector layer. However, we must avoid applying deep learning algorithms to images that might have been zoomed. These algorithms are typically trained at a specific resolution, and the Web Mercator projection does not preserve size.
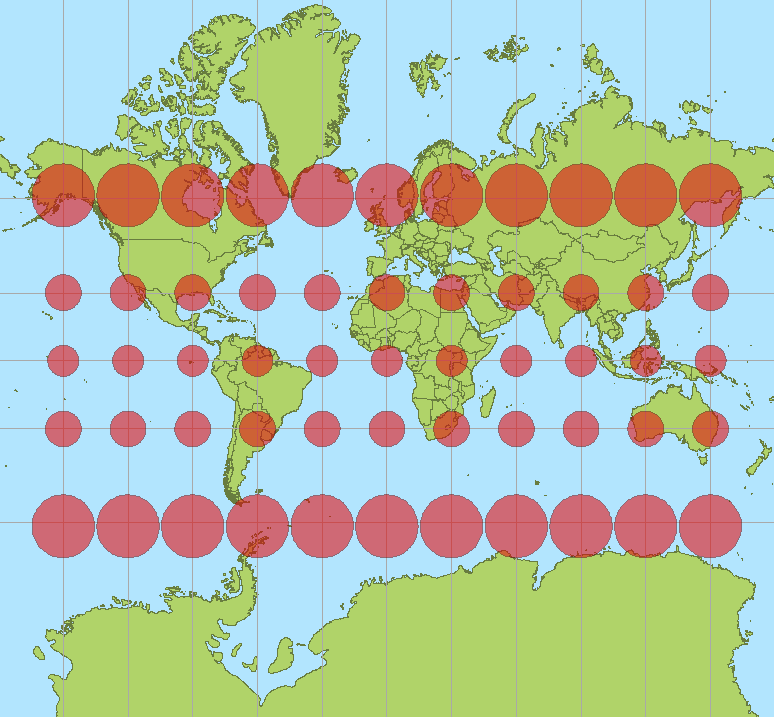
https://en.wikipedia.org/wiki/Mercator_projection
We read the content of the Pleiades image in its original projection (either the raw geometry or a transverse mercator projection in which the central meridian would pass through the center of the image). In this case, the resolution is guaranteed to be the correct native resolution of the image.
The UDF gets the Pleiades image in the correct projection, then calls the prediction API, and finally returns the predictions in a GeoDataFrame which will be dynamically rendered on the map. For performance, we have added the @fused.cache decorators which make the function automatically cache results for identical parameters. The predictions are returned in pixels in the source image and then converted into lat/long so they render on a map. Then, when we look at the result in the workbench, we get some issues at the border of the tiles.
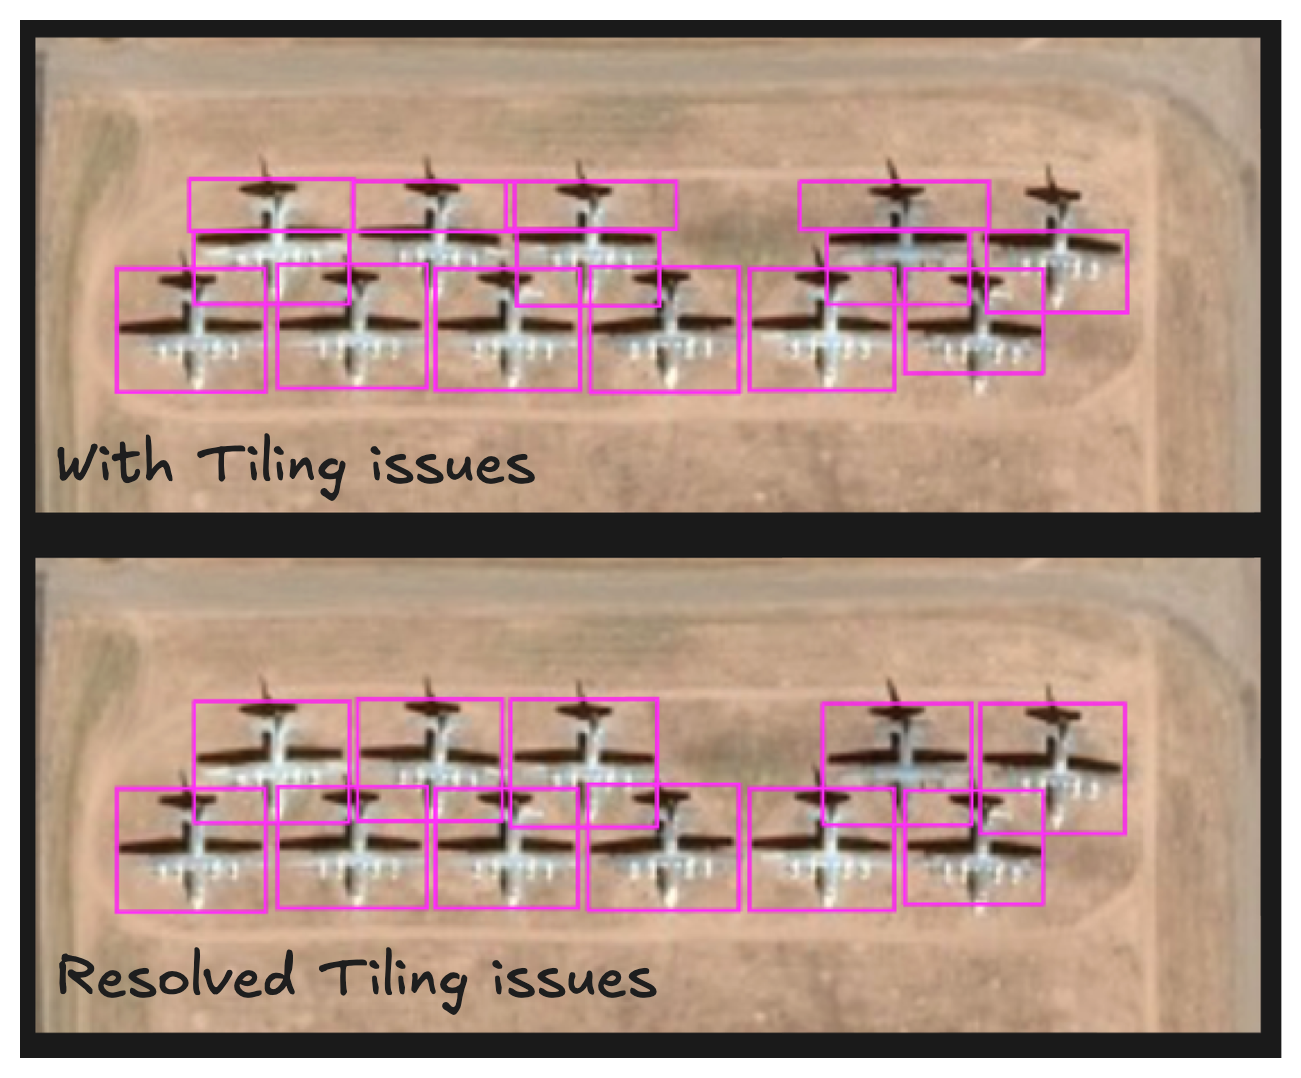
The reason is that if an aircraft is on the tile border, it will be detected partially on the lower tile and potentially on the upper tile. The two bounding boxes might not align perfectly so we cannot merge them. The solution here is to extract a image larger than the tile: if the center of the predicted box is inside the tile we keep it, if it is outside we discard it. We usually use a margin that is the upper size of the objects we are trying to detect i.e. 100 meters for aircrafts. After these little improvements, the result is much nicer
Building a web app
Now that everything is running fine in the workbench, it is time to extract the layers and include them in a webpage. Fused provides an easy way to integrate layers in external applications via HTTPS requests. You just need to go to Settings, click Share and copy the provided URL.
Then, you can integrate this URL as the tile source in any mapping application. I am not diving into that here, but you can read how to do this in the DeckGL Fused docs. You can check the code source of the demonstration below. Here is the extract of the JavaScript Deck.gl code where the URL is integrated.
And here it is: the final working demonstration!
Conclusion
Huge thanks to the amazing team at Fused for their incredible support, and to my former colleagues at Airbus for providing the stunning Pleiades image. I think that this application turned out to be very sleek and powerful. If the underlying satellite image changes, the AI layer gets automatically recomputed on the fly.
I'd love to hear your thoughts!
This article was originally published in LinkedIn on June 20th 2024.